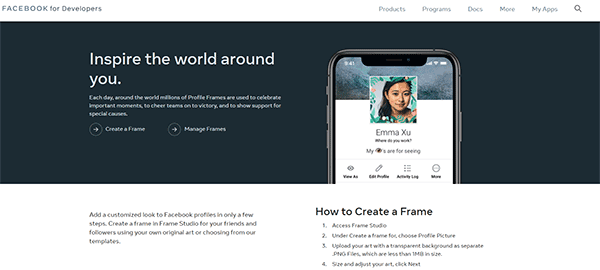
Maybe you’ve seen some of your friends with custom overlays on their Facebook profile photo – perhaps you haven’t. A Facebook Frame is an image overlay that is applied to your default Facebook profile image. Most people use the feature to promote an event, show support for their favorite team, charity, school, political party, etc. You can create your own Facebook Frame so friends and followers can support a mutual cause or interest.
I recently found a need to create a Facebook Frame for my personal Facebook Profile Photo. Although it’s relatively simple to create the graphic, I noticed that there was some irregularities after uploading the graphic and applying it to a profile photo. Before we get into that, let’s start from the ground up.
Step 1: Building your Graphic
I’ve gone ahead and created a simple graphic for you to use in your preferred photo editing and manipulation software.
(click here for fullsize image)
Note: I’ve been a big proponent of the Adobe Creative Suite (adobe.com), more specifically Adobe Photoshop, and if you’re just getting into graphic design or you’re only looking for a cost effective option to fulfill a hobby, they have really inexpensive packages to suite your needs; and as long as your subscribed your software will always be up to date. I’ve had it for the past several years and love it.
There’s my pitch – I’m done.
Step 2: Create your Graphic
I won’t bore you with the steps to create a graphic, but it’s important to understand that you save the file in the Portable Network Graphic (PNG) format. This is a 24 bit uncompressed image file that functions similarly to a .gif in respect to transparency.
Step 3: Publishing your Facebook Frame

You can find Facebook Frame Studio by going to: Facebook for Developers – https://developers.facebook.com/products/frame-studio/ and follow the following instructions from your PC or Mac.
- Access Frame Studio (Attention: If you have multiple accounts, be sure you’re using the right account because each graphic will reference that account publicly)
- Under Create a frame for, choose Profile Picture
- Upload your art with a transparent background as separate .PNG Files, which are less than 1MB in size.
- Size and adjust your art, click Next (Attention: I would not suggest to “size and adjust” your artwork within their software. Just position the graphic where you want it. Be sure to use the preview feature.)
- Create a name, choose location availability and schedule, click Next
- In the top Right corner select the Profile or Page you want to publish your profile frame, Once you submit your frame you won’t be able to change the frame name or owner.
- Click Publish
Step 4: Applying your Creation
This is where the “irregularities” begin. When you apply your Facebook Frame to your Profile Photo, be sure to apply from your mobile device.
Each time I attempted from my Desktop computer the image was extremely blurry. I’ve attempted to use a variety of browsers and made sure Facebook was uploading photos in HD quality. Nothing seemed to work until I applied my Facebook Frame from my mobile device.
Note: Currently there is not a method to upload a custom Facebook Frame from your mobile phone or mobile device.


